
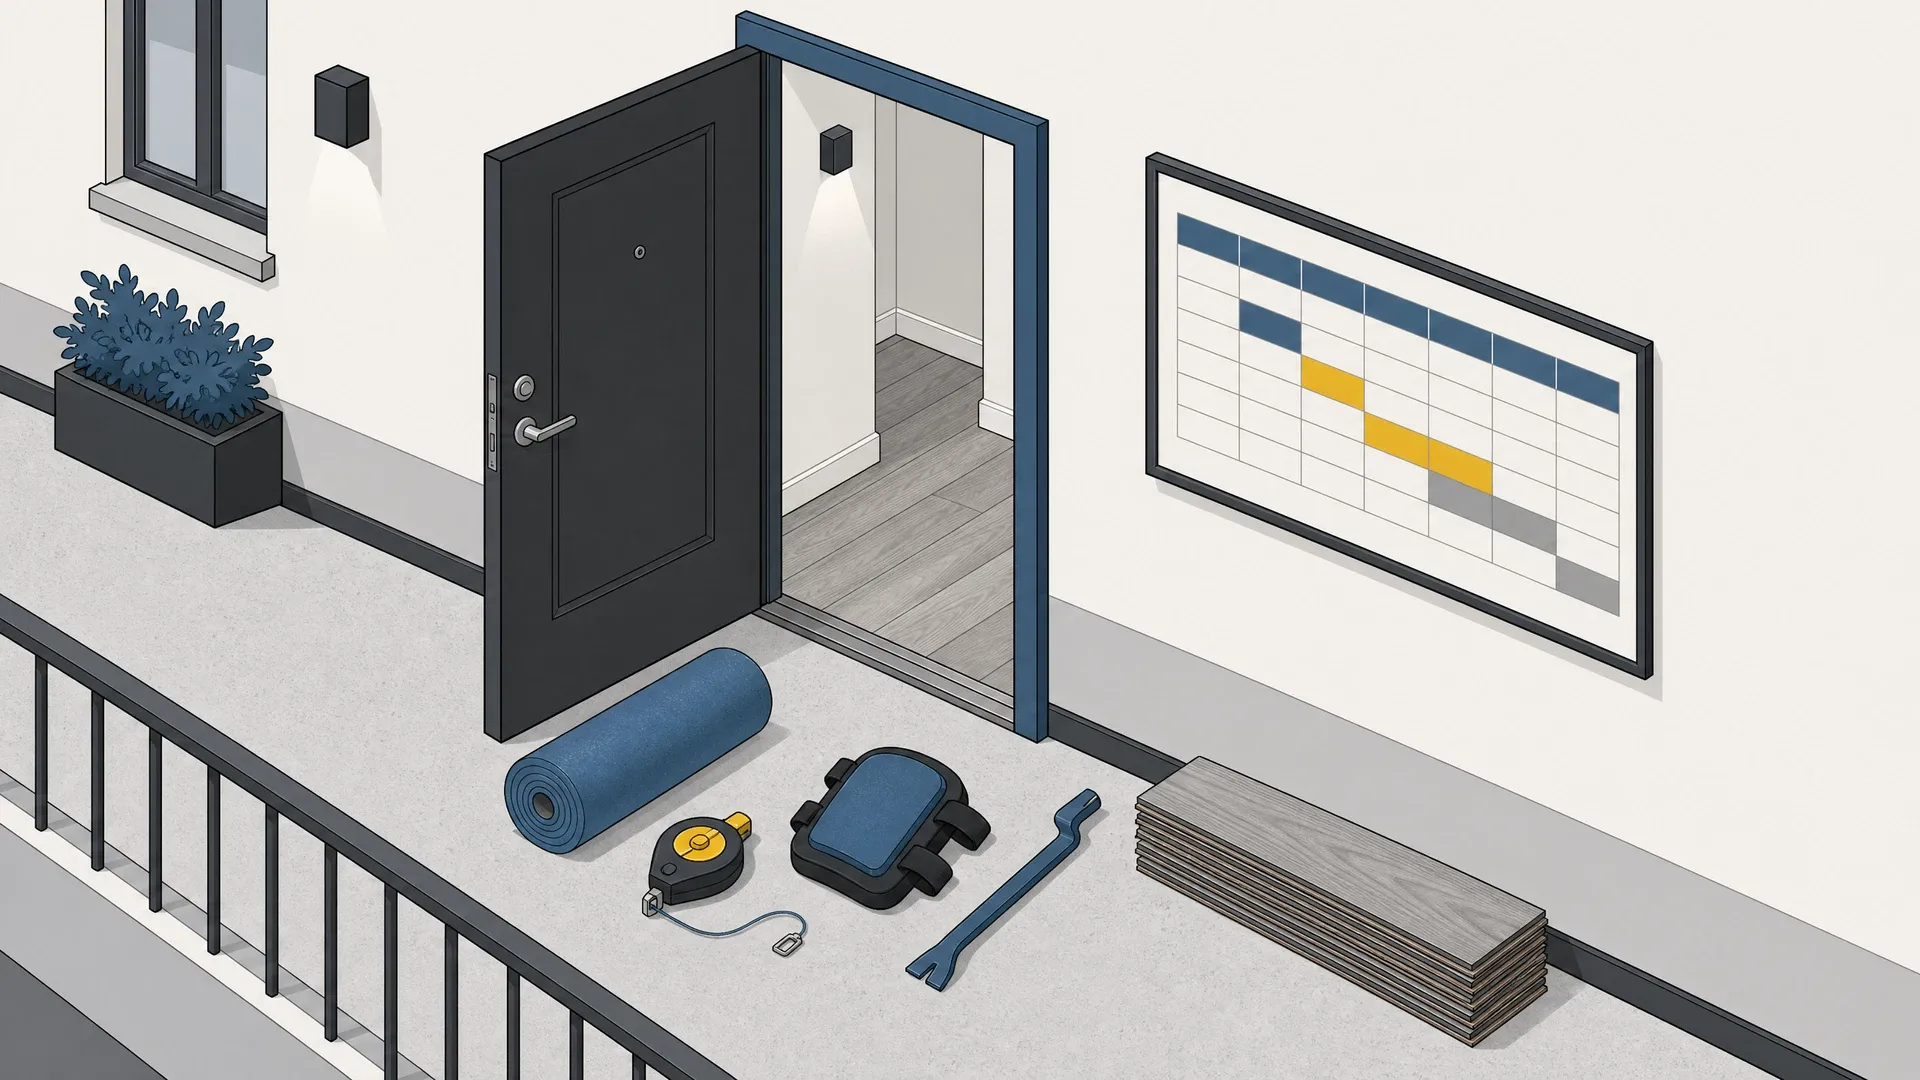
A rental turnover is a sequence with fixed points. The floor waits for a dry substrate, the levelling compound waits for cure, and the unit waits for the adhesive to take load. Everything else, including ordering, skip booking, appliance moves and lift reservations, can be arranged around those fixed points. This schedule sets out the order, the tasks that cannot be compressed, and the record to leave behind for the next turnover.
Access before anything else
Confirm access before ordering material. Check the tenancy agreement for the notice period, permitted working hours and any clause about alterations or landlord’s fixtures. Serve notice in writing, name the dates and hours, and say who will hold keys. If the unit is occupied, agree how furniture and appliances will be moved and where they will be stored. If it is vacant, confirm the lockbox, alarm code and meter readings.
Book the building’s constraints at the same time: lift protection and booking, loading bay, parking, waste route and any building-manager approval for noise or water shut-off. A crew without a lift booking loses a day. Record the condition of the unit on the same visit: walls, doors, skirting and the existing floor. That record is the baseline for the deposit and for the next turnover. If the building predates the asbestos ban, a refurbishment survey is needed before any existing vinyl, tile or adhesive is disturbed.
What cannot be compressed
The stages below set the minimum programme. Treat them as fixed and build the rest of the schedule around them.
Moisture test
The substrate must be tested before any levelling compound or adhesive is specified. The method and the acceptance limit come from the flooring manufacturer; the result goes in the file. Inspect it at the same time: cracks, hollow spots, contamination and old adhesive all change the preparation. A slab that reads wet is not ready, and a surface seal will trap moisture rather than solve it. If the test fails, the programme gains a drying period, not a shortcut. The test also confirms the slab type: a suspended slab, a ground-bearing slab and a screed over insulation dry at different rates.
Levelling compound cure
Levelling compound must be dry, not merely hard. Primer, thickness, temperature and ventilation all affect cure, and the manufacturer’s data gives the limit. Walking on it early leaves ridges and hollows that telegraph through a thin vinyl. Painting it with a surface sealer before it is dry traps water. Keep the unit ventilated and heated within the product’s range; a cold snap can stall the cure without any visible sign.
Adhesive cure
Adhesive cure is a no-load period. Furniture, appliances and foot traffic can shear a floor that has not fully bonded, and washing it early can lift seams. The same applies to grout and to heat-welded seams. The unit stays empty until the cure is complete; a handover clean happens after it, not during it. Low temperature and poor ventilation extend the period, so the programme needs a margin, not an assumption.
Acclimation belongs here too. LVT, sheet vinyl and timber need time at service temperature before installation. A roll that has spent the night in a cold van will not lie flat, and no amount of rolling will fix it. Stack materials flat, off the floor, in the room where they will be installed.
The schedule, day by day
The days below are sequence slots, not promises. Cure times come from the product data and site conditions; move the fixed stages and the whole programme moves with them.
| Stage | Day | Can this move? | Who owns it |
|---|---|---|---|
| Notice, access and condition record | Before Day 1 | No, the notice period is fixed | Property manager |
| Strip-out and appliance disconnect | Day 1 | Partly, appliance moves can be pre-booked | Contractor and landlord |
| Waste removal | Day 1 | Yes, book the skip earlier | Contractor |
| Subfloor inspection and moisture test | Day 1 | No, the result gates the floor | Installer |
| Primer and levelling compound | Day 2 | No | Installer |
| Levelling cure | Day 3 | No, it is a clock | Nobody, protect the floor |
| Material delivery and acclimation | Day 1 to 3 | Yes, order earlier and deliver later | Supplier and installer |
| Installation | Day 4 | Partly, phase by room | Installer |
| Trim, thresholds and coved skirting | Day 5 | Partly | Installer |
| Adhesive cure and no-load period | Day 5 to 6 | No, it is a clock | Nobody, keep the unit empty |
| Cleaning and snagging | Day 6 | Partly | Cleaner and installer |
| Photograph and handover file | Day 7 | Partly | Property manager |
| Buffer day | Day 8 | No, keep it unbooked | Property manager |
Two rules keep the table honest. First, do not book the tenant’s move-in against the installation day; book it against the buffer. Second, do not release the unit for cleaning until the adhesive cure is signed off. Trim and thresholds close the job: door undercuts, transition strips and fire-door clearance are checked before the floor goes down.
Parallel work and occupied-building constraints
Several tasks can run alongside the fixed stages. Order materials once the moisture test passes, not before; book the skip and the waste transfer note early; confirm appliance disconnection and storage; reserve the lift; send the access notice; approve the sample and the layout.
Noise and dust
Strip-out and substrate preparation are the noisy, dusty stages. Agree the hours with the building manager and tell neighbouring tenants in writing. Seal the unit’s door with a zipped barrier, use negative air if dust is heavy, and protect the common corridor. Do not use the communal bins for strip-out waste. Cutting outside the building, with the door closed, keeps dust out of the lobby.
Lifts, corridors and fire doors
Protect the lift car and the route to the unit. Check the lift’s load limit and book it for material delivery rather than carrying sheets up the stairs. Fire doors must close and latch; never wedge one open for convenience, and check that a new threshold or carpet pile does not hold the door off its seal. Keep escape routes clear, including the corridor outside the unit.
Other tenants
Water shut-off, alarm testing and odour from adhesives affect everyone. Give notice for each, keep the work inside the agreed hours, and clean the common route at the end of each day. If another unit has a viewing or a move-in on the same day, agree the lift and corridor slots in advance.
Where the sequence changes by material
LVT
Glue-down LVT needs a flat substrate, an appropriate primer and a full adhesive cure. Click LVT avoids adhesive cure but still needs acclimation and a flat substrate; it is faster to lay and easier to replace a damaged plank. In a bathroom or kitchen, check the joint detail and follow the manufacturer’s wet-area guidance. Substrate tolerance is usually what decides the programme. Our comparison of LVT versus sheet vinyl for rental turnovers covers the trade-offs in detail.
Sheet vinyl
Sheet vinyl takes the most preparation and the most installation time. It needs a smooth substrate, a template, heat-welded seams and a coved upstand, and the adhesive needs its full cure before washing. It is the better choice for a wet room or a kitchen floor, but it is not the material for a schedule with no buffer.
Carpet tile
Carpet tile is the fastest turnover floor. It hides minor substrate irregularity, needs no adhesive cure in most systems, and a stained tile can be swapped without lifting the room. It is not suitable for bathrooms, kitchens or any area that will be washed. Check the pile height against door swings and thresholds before ordering, and keep a box of spares from the same batch. The rental unit flooring guide sets out which materials suit which rooms.
The handover record
Photograph the unit before strip-out, after substrate preparation, after installation and at handover. Include the moisture test result, the product labels, the adhesive and levelling compound labels, the batch numbers, the seam layout and the thresholds. Store the photographs and labels in the property file with the date and the installer’s name.
Leave spare material in the store, labelled with the room and the batch. Record the cleaning products used and the maintenance schedule, and note any area that needs a different treatment, such as a wet room or a balcony. At the next turnover, the record tells the next installer whether the floor can be patched or must be replaced, and it tells the landlord what was fitted. That is the difference between a planned replacement and an emergency one, and the evidence you need if a deposit dispute turns on the floor.
What to do next
Build the schedule backwards from the move-in date. Put the moisture test, levelling cure and adhesive cure in first, then fit strip-out, delivery and installation around them, and keep one buffer day unbooked. Confirm access and notice before you order anything, and photograph the unit before the first fitting is removed.
Maintenance schedules sets out the cleaning routine that protects the new floor. Rental floor replacement budget covers the cost decisions that sit around this programme, and the maintenance category collects the rest of the turnover guidance. If the unit is part of a larger building, request a consultation before the lift and waste route are booked.